Repolarization Of The Hair Cell: Repair Hair In A Few Minutes
With this treatment you can repair your hair at home and make it shine.
There are many professional tools and alternatives that can be used to repair dry, brittle hair. The repolarization has since made a name for it, the hair is supplied with nutrients and simultaneously made the structure.
It is a cocktail of moisturizing active ingredients that immediately restore shine and suppleness to the hair. While many beauty salons and hairdressers offer this treatment, it can also be done at home.
What are the advantages? What tools do you need? We know many of you would like to try this treatment. For this reason, today we explain in more detail how you can carry out a repolarization of the hair cells yourself.
Repolarization and its benefits
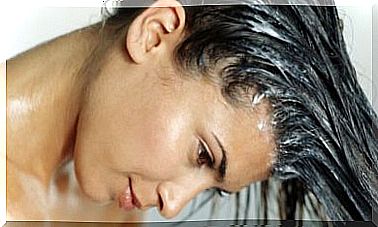
Repolarization is recommended when the hair is damaged and weak. It is often used when hair is damaged from straightening, blow drying, or other treatments.
Since this procedure combines products with revitalizing and moisturizing properties, regular use has many other benefits for your hair.
In fact , it is recommended to use it at least once a week to benefit from the silky and moisturizing effect.
The advantages of repolarization are:
- More suppleness and moisture in the hair roots.
- The hair becomes more resilient and elastic.
- More control over unruly hair and curls.
- Less frizz or charged hair.
- Silky and healthier hair.
How is repolization done?
If you carry out the repolarization yourself, you can save your wallet, because you know that professional treatments are usually very expensive.
That is why this alternative is ideal for those who do not spend a lot, but still want to show off a spectacular head of hair. The ingredients you need for this treatment are relatively inexpensive in drugstores or hairdressing salons.
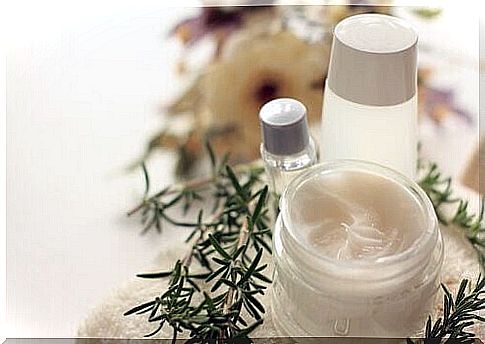
ingredients
- Shampoo (which you usually use too)
- 2 spoons of coconut oil (30 ml)
- 1 spoon of olive oil (15 ml)
- 1 keratin pack (100 ml)
- 1 packet of moisturizing hair mask (e.g. with collagen) (120 ml)
Utils
- plastic cup
- brush
- Straightening iron
- Aluminum foil
- Thermal or plastic hood
Preparation and use
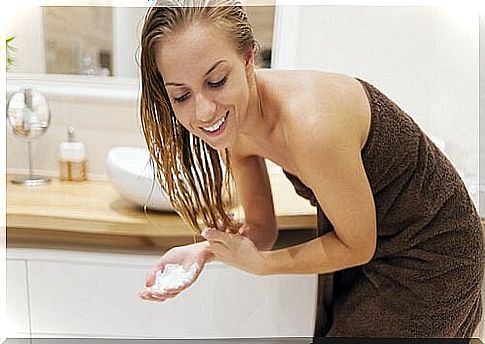
- First, moisten the hair and wash it with shampoo as usual.
- Then mix the coconut oil and olive oil in a plastic container.
- Add the keratin and the hair mask and stir everything well.
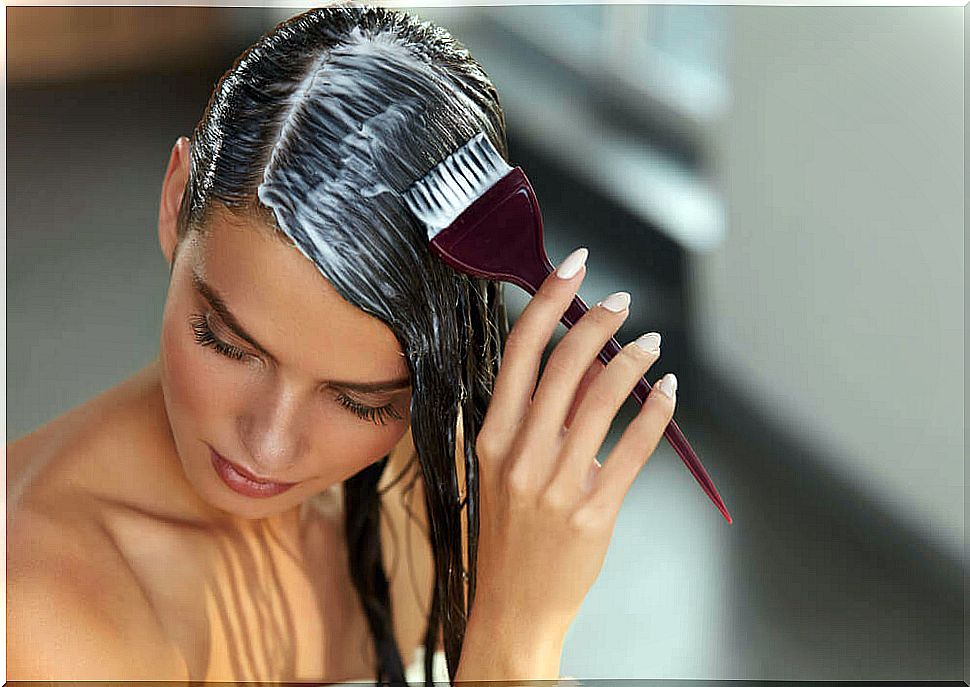
- Then apply this mixture to damp hair with a brush.
- You can divide the hair into several strands so that the product can be easily distributed from roots to ends.
- Then cover with a hood and leave for 10 to 15 minutes.
- Meanwhile, wrap the surfaces of the straightening iron with aluminum foil.
- Make sure they are well covered and heat to 180ºC.
- Then divide the hair into thinner sections.
- First pull the straightener jerkily and then gently through the hair. The point is not to dry it, but to seal it, so it is important to do it in batches first.
- You shouldn’t use the straightening iron more than three times on the same strand, as the hair should stay slightly damp.
- When you’re done straightening, cover the hair with a thermal hood and wait 30-40 minutes.
- Then rinse again with cold or lukewarm water, but without using shampoo or conditioner.
- Style your hair as usual and let it air-dry to see the results for yourself.
Note: The amounts given may vary depending on the density of the hair. If you have a very thick mane, you should go for a little more. The thermal hood is only a recommendation. If you don’t have one, that’s not a problem.
Do you feel like trying this wonderful hair care product at home? As you have seen, this treatment is very simple.